Tuesday, February 8, 2011

Taking Forever

 The bedroom wallpaper is finally finished.  Now I have to put the reed ceiling up next.  I am a little tired of all the details-but this to shall pass........................................The center stair hall ceiling needs to be reglued.  I finally got glue to do the job, so that is next.


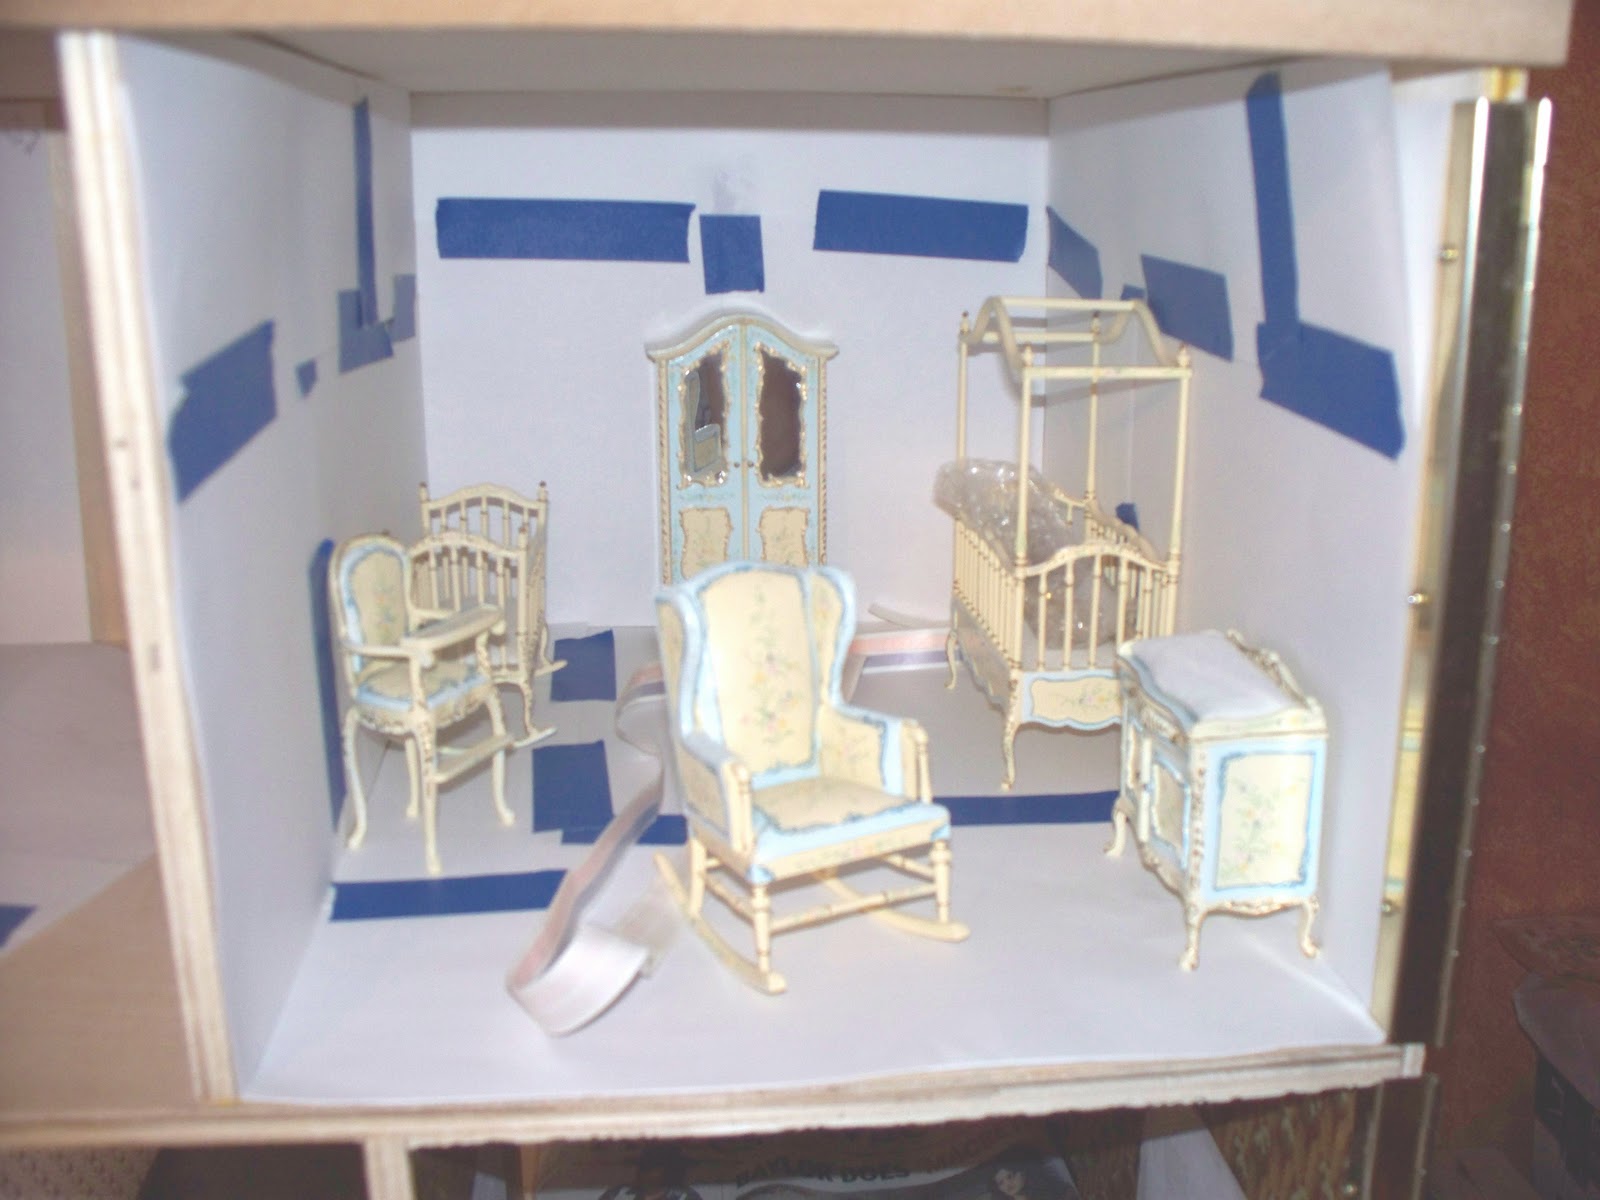
This is the baby room.  The templates are in place, so I can put up the wallpaper.  I have hit a snaffoo for the light fixtures.  I love the chandelier, but the wall sconces suck.  Gloria Lund did the chandelier and I am trying to talk her into doing sconces. I have to stop and think-my head hurts.  The wall to the left popped a little loose and I have got to reglue it---It NEVER ENDS.  This is the room with the great carpet I previously posted about.
Take care, Kate

Saturday, January 22, 2011

Bedroom Wallpaper/Electrical and Babyroom rug

 I am back working on Chateau Canticlear.  The three photos to the left are of the Oriental Bedroom.  The tape wiring shows how I soldered wiring onto it.  I am putting the wiring through the wallpaper, then through the fireplace-just in case, in the future I might want to put "fire" in the fire place.  Soldering is fun.  I think I have four different irons.


This photo showes where I put the soldered tape. (in the middle of the picture)  Where the tape meets the  tape I put tiny nails in matching colors.  I made a mistake and put one hole too close to the other colored tape wire.  I pulled the tape wire up and I took Scotch tape (the best) and put a little piece over that misplaced hole.  Then I repunched the misplaced hole.  The scotch tape did not cover the correct placed holes in the other colored tape so I only had to punch one hole.


TA DA!!!  The wall paper is on the back wall-FINALLY.  I don't think you can see it, but the wire is coming out of the lower center of the wall paper.  I will spray the other two sides of wallpaper with matte spray tomorrow and put them up Monday.  If I do say so myself, the paper really turned out great.


Baby Room Rug

I am usually disappointed in the rugs I get off line.  But, this one blew my socks off.  It matches the furniture perfectly (the detail on the furniture is faded in this photo) and is perfect with the wall paper.  I will get started on this room next.

Thanks,
Kate  

Wednesday, September 8, 2010

Bedroom Fireplace-Part 4

The oval on the left is what I am going to put on the board on top of the fireplace.  I had to cut down the original oval on the right to fit the space.  I used the saw on the right to make cuts so I can break the pieces apart. 
The oval on the left is attached to scotch tape so I don't lose any of the parts.  I plan to glue the parts together and fill in the void spots with caulk.
The two little wallshelves on the far left will be put in the top and bottom area of the oval.  I have mud men to put on them.  The shelves are too tall for the space, so I am cutting off the bottom of the shelf.  It is REALLY hard.  If I use a bigger saw the resin will pop appart in the wrong place. 
Next process is paint the resin and gule to fireplace backing.  Then I will put up the electric tape, wallpaper and lastly the backing and fireplace.  It seems it never ends.
Bye,
Kate

Friday, September 3, 2010

Bedroom Fireplace-Part3

Today I mixed the paints to match the fire place.  I am really good at matching colors.  It  helped to have the back of the fireplace to test colors on.


Here is the fireplace back painted to match the fireplace.  I found two pieces of molding to put on either side of the back and painted them to match.  Now if I could quit being SOOOO LAZY, I could get this room almost finished.  I think the next thing I am going to do is put the rattan mat on the ceiling-that is going to be difficult.

Kate

Wednesday, August 25, 2010

Bedroom Fireplace-Part 2

Today I took the fireplace backboard and belt sanded the edges-with my husbands help.  I brought the piece in the house and fine sanded the rough edges-I am using balsa wood.  Balsa has become my favorite wood-it is very light weight and easy to work with.  Next, I Kilz the backboard and Friday hope to mix paint to match the fire place and then paint the backboard.  Then for the SURPRISE!!!

Sunday, August 22, 2010

Bedroom Fireplace

Well, I am finally back at work: this time on the bedroom fireplace.  I needed a back bumpout behind the fireplace for a special project.  There are many more post to come on this fireplace.  Here are some photos:

This is how I glued the six boards together.  An angel was watch over me as I had the exact width of boards to do this project.  Julia Child would have been proud.


The board will be in the center of the back wall with the fireplace in front of it.  I can't wait for you all to see how I finish it-secret!!!


Thanks,
Kate

Sunday, June 27, 2010

Back at Work

This floor is from a ratan mat.  Excuse the French, but it was a bitch to cut.  It took me 4 hours.  It fell apart on the edges and I had to glue the pieces together on both front and back edges.  That left a 1 inch shiney line on both edges, so I sprayed the whole thing with Patricia Nimocks matte spray. The End.  Now all I have to do is glue it down when it drys.  All I have to do is decide which glue.  I have an old bottle of Grrrip I should use-it is not cheap.  So I will whip out my credit card and spread the glue-works great.


This is the second floor center hall.  This also took 4 hours.  I don't know why I had so much trouble.  It is going to be stained walnut.  I would use contact cement to glue it down, but I have a hard time getting things in the right place the first time. (See the old post about the living room floor)
FYI: the papers with the blue painters tape are my templates for electrical and wallpaper.  Work great.