Tuesday, May 24, 2011

Inside Roof Amost Finished

I almost finished papering the inside of the dollhouse roof.  I have one 4 in. wide strip to finish tomorrow.  Then I cut and glue back the openings for the dormers.  I can't believe things are moving along so quickly.
Here are todays photos.  I have so much problem with the Blogger's photo program-maybe it is me????


My hubby is taking most of the photos-he is doing a very good job!  The above pic is the inside of the roof.  There is only a strip at the top to finish.

Kate >^..^<

Monday, May 23, 2011

Dollhouse Roof Interior

There are a lot of pieces to the roof.  There is the main roof (which I did not work on tonight), 3 pieces to each dormer (and there are two dormers).  All the out side of the roof is shingled.  The inside I decided to wall paper with Itsy Bitsy wallpaper-plaster and lathe.  It is sooooo coooool.  But I have to stop and think before I cut the excess edges, if indeed they need to be cut.  The exposed edges on the under side that show are painted black, but one place the wallpaper needs to be pulled through the front opening and the shingles will cover the excess-I think that is the very front.  Well here are all the pictures.
Thanks,


Kate >^..^<

Monday, May 9, 2011

Priming the Dollhouse Front

There is not much to say about priming.  I also put clapboard on the front of the dormer-I had no idea the dormer was so BIG.  While I was priming the front, I also primes the next two rooms.  I still have to get the sponge brush and prime the corners.  I also had to sponge brush the clapboard on the dormers-the roller left too many bubble marks.
Thanks for stopping by,
Kate


I can not get these pictures to line up correctly.

Monday, February 28, 2011

Attic Stair Openning

I decided to put an opening for a stair from the third floor to the attic.  To make sure the stair opening was exactly over the floor opening below, I made a template of the third floor (the wall is not up on the third floor) and transposed it to the attic floor.  I will attempt to put up the third floor wall by the stairs tomorrow and I will know if this is all correct.  RGT were great about sending me another stair and railing-it did not cost too much.  I am waiting for a roof piece from RGT in VT. to get the front finished-then I can put the house in a permanent place, hook up the transformers, install lights and molding-----then, ta da, put in the furniture.

To cut the hole I used this tool from Harbor Freight.  It is a oscillating thing that has 5 blades-it was about $30.  The noise was terrible-I had to get ear plugs.  I have seen this tool other places for $100+++.  It is good for dollhouse use.
Kate

Thursday, February 17, 2011

Junk, Junk and More Junk


 These are photos of the dollhouse Chateau Chanticlier construction area.  The top photo is a photo of the stuff  on the side front, the middle photo is the front view of all the stuff and the bottom photo is the dollhouse itself.  All this STUFF goes into the doll house-hard to believe.  Hopefully after about two weeks, I will begin furnishing, decorating and putting up the lighting and all the STUFF will be GONE.
Kate


Tuesday, February 8, 2011

Taking Forever

 The bedroom wallpaper is finally finished.  Now I have to put the reed ceiling up next.  I am a little tired of all the details-but this to shall pass........................................The center stair hall ceiling needs to be reglued.  I finally got glue to do the job, so that is next.


This is the baby room.  The templates are in place, so I can put up the wallpaper.  I have hit a snaffoo for the light fixtures.  I love the chandelier, but the wall sconces suck.  Gloria Lund did the chandelier and I am trying to talk her into doing sconces. I have to stop and think-my head hurts.  The wall to the left popped a little loose and I have got to reglue it---It NEVER ENDS.  This is the room with the great carpet I previously posted about.
Take care, Kate

Saturday, January 22, 2011

Bedroom Wallpaper/Electrical and Babyroom rug

 I am back working on Chateau Canticlear.  The three photos to the left are of the Oriental Bedroom.  The tape wiring shows how I soldered wiring onto it.  I am putting the wiring through the wallpaper, then through the fireplace-just in case, in the future I might want to put "fire" in the fire place.  Soldering is fun.  I think I have four different irons.


This photo showes where I put the soldered tape. (in the middle of the picture)  Where the tape meets the  tape I put tiny nails in matching colors.  I made a mistake and put one hole too close to the other colored tape wire.  I pulled the tape wire up and I took Scotch tape (the best) and put a little piece over that misplaced hole.  Then I repunched the misplaced hole.  The scotch tape did not cover the correct placed holes in the other colored tape so I only had to punch one hole.


TA DA!!!  The wall paper is on the back wall-FINALLY.  I don't think you can see it, but the wire is coming out of the lower center of the wall paper.  I will spray the other two sides of wallpaper with matte spray tomorrow and put them up Monday.  If I do say so myself, the paper really turned out great.


Baby Room Rug

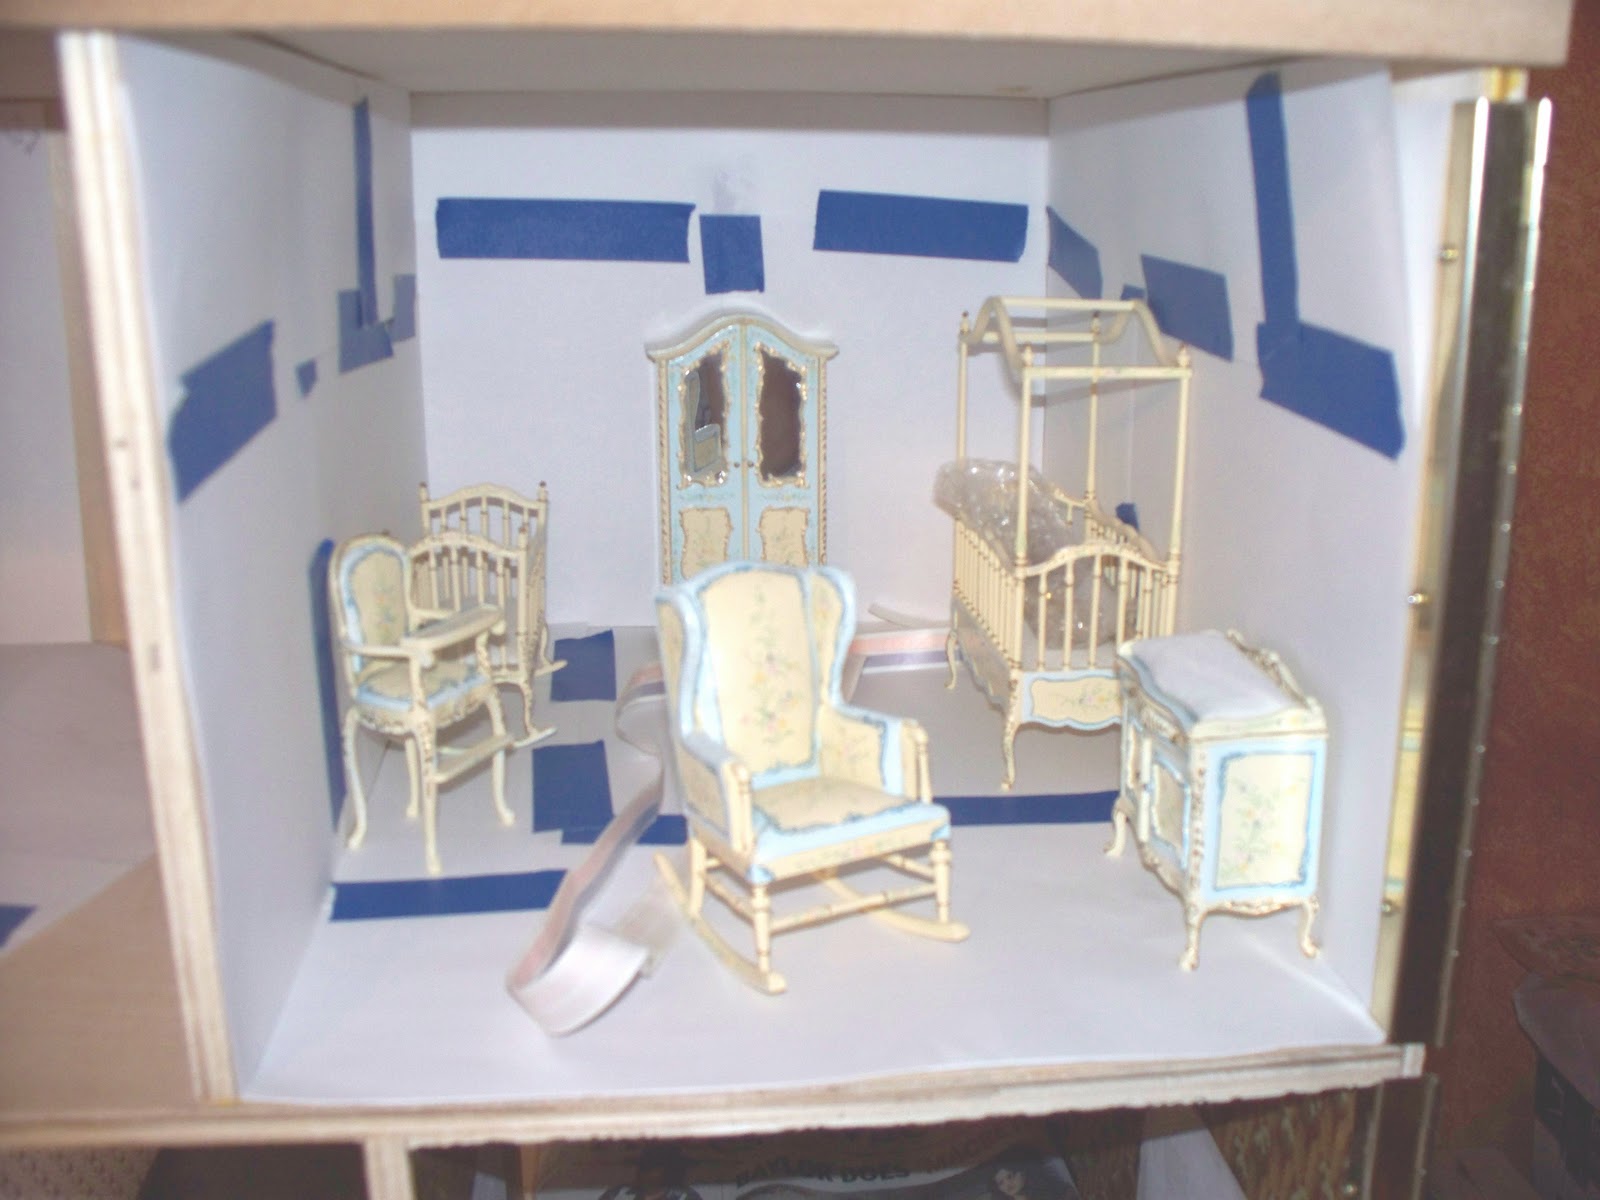
I am usually disappointed in the rugs I get off line.  But, this one blew my socks off.  It matches the furniture perfectly (the detail on the furniture is faded in this photo) and is perfect with the wall paper.  I will get started on this room next.

Thanks,
Kate